Showing posts with label project. Show all posts

Tuesday, September 11, 2012

project {suede headboard} DIY

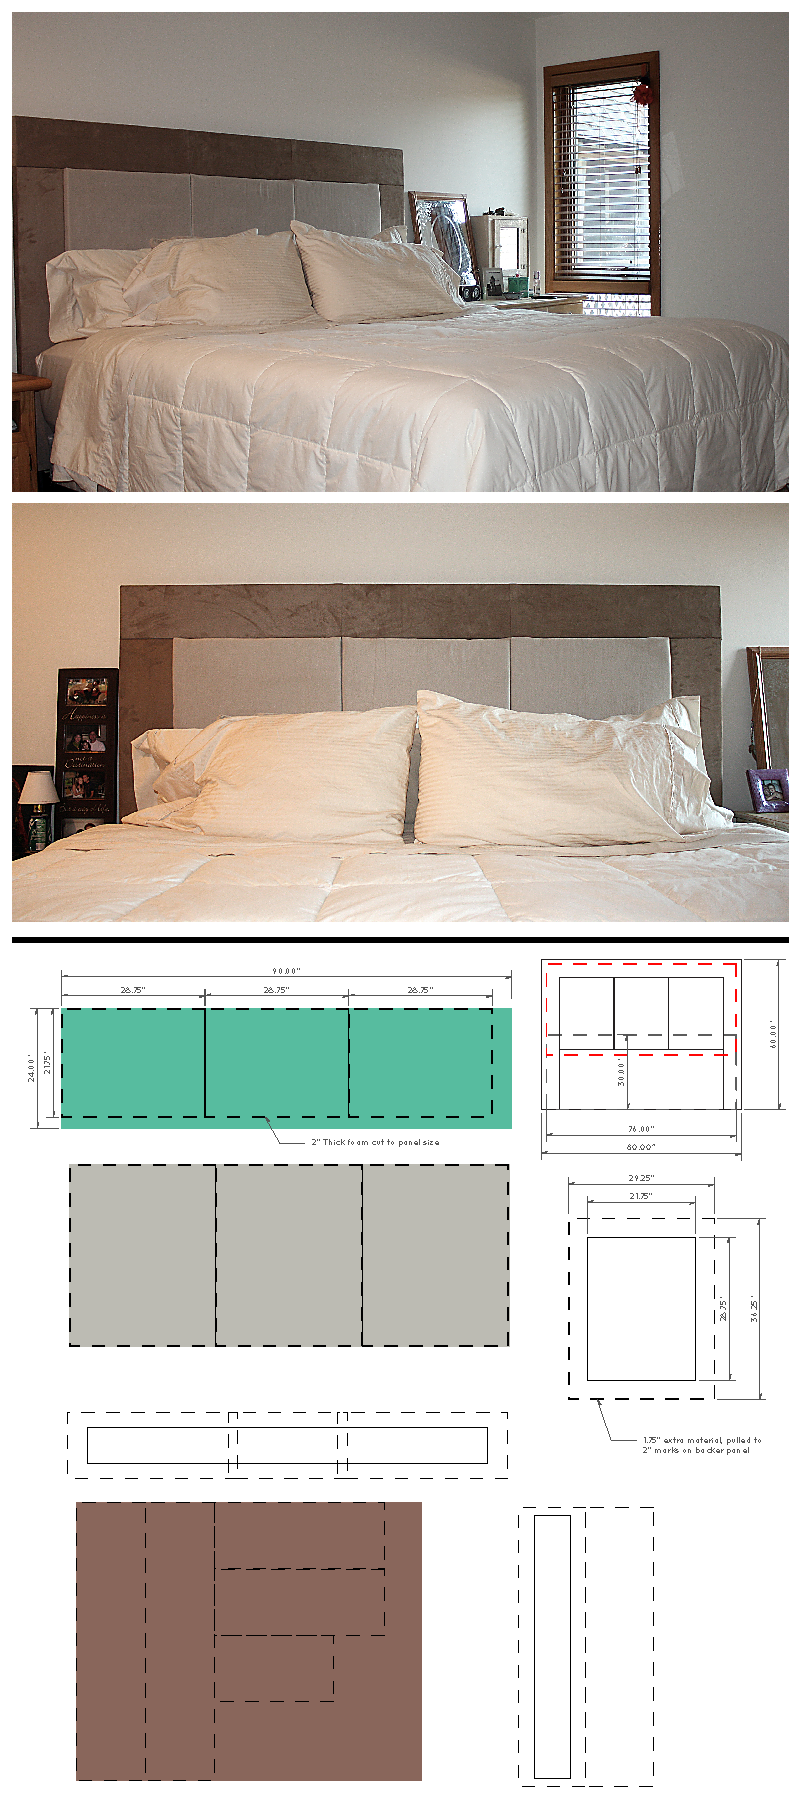
In my past post {Claudia Bell + Albert} I showed you the plans I had to make my own headboard.  I finally found the time to do it!  It took me about 8 hours from start to finish, not including shopping time for the materials.  It would have taken me longer too, had Andrew not helped me for the last 4 hours, stapling and screwing pieces together.

All together the final cost was about 75-100 dollars after all the rebates for the wood and coupons/sales for the fabric and foam.  On average a king size suede headboard priced at about 400 - 600 dollars.  That's huge savings!

Here are a few pictures of the process and the end result.  At the end I added a few of the calculated notes I used to figure out the best way to cut my material with the limited amout of fabric I had.    I found it in the clearance section at Joann Fabric and just bought what was left on the roll.  Typically fabric like this would run about $40/yard.  I got it for about $5/yard.

If anyone is interested in a detailed description of the process, feel free to comment or email me with questions.


Sunday, July 08, 2012

project {Claudia Bell + Albert}

We have been very busy this week getting things together for our new apartment!  Last weekend we shopped both days for a great mattress.  We originally picked out a Simmons Orthopedic, later to find the reviews were horrible.  With lots of frustration from a days worth of shopping down the drain we headed to The Original Mattress Factory.  I had to say we were both sold on the mattress before even trying out the beds.  Just the construction and quality of the bed itself was far more extensive than we had found the first day.  They sell solely from their factory warehouse, so we were able to get a lot more for our buck.  Here are the comparison photos.  Mostly look at the spring design + gauge and foam ratios.  The OMF also makes their beds double sided for flipping, where standard mattress' did without this 10 years ago. Not shown are the box springs.  Typical box springs are hollow wood framed boxes.  The OMF makes the box spring how they were designed years ago by including coils and springs.


Simmons Mattress & Sealy Mattress


 Original Mattress Factory


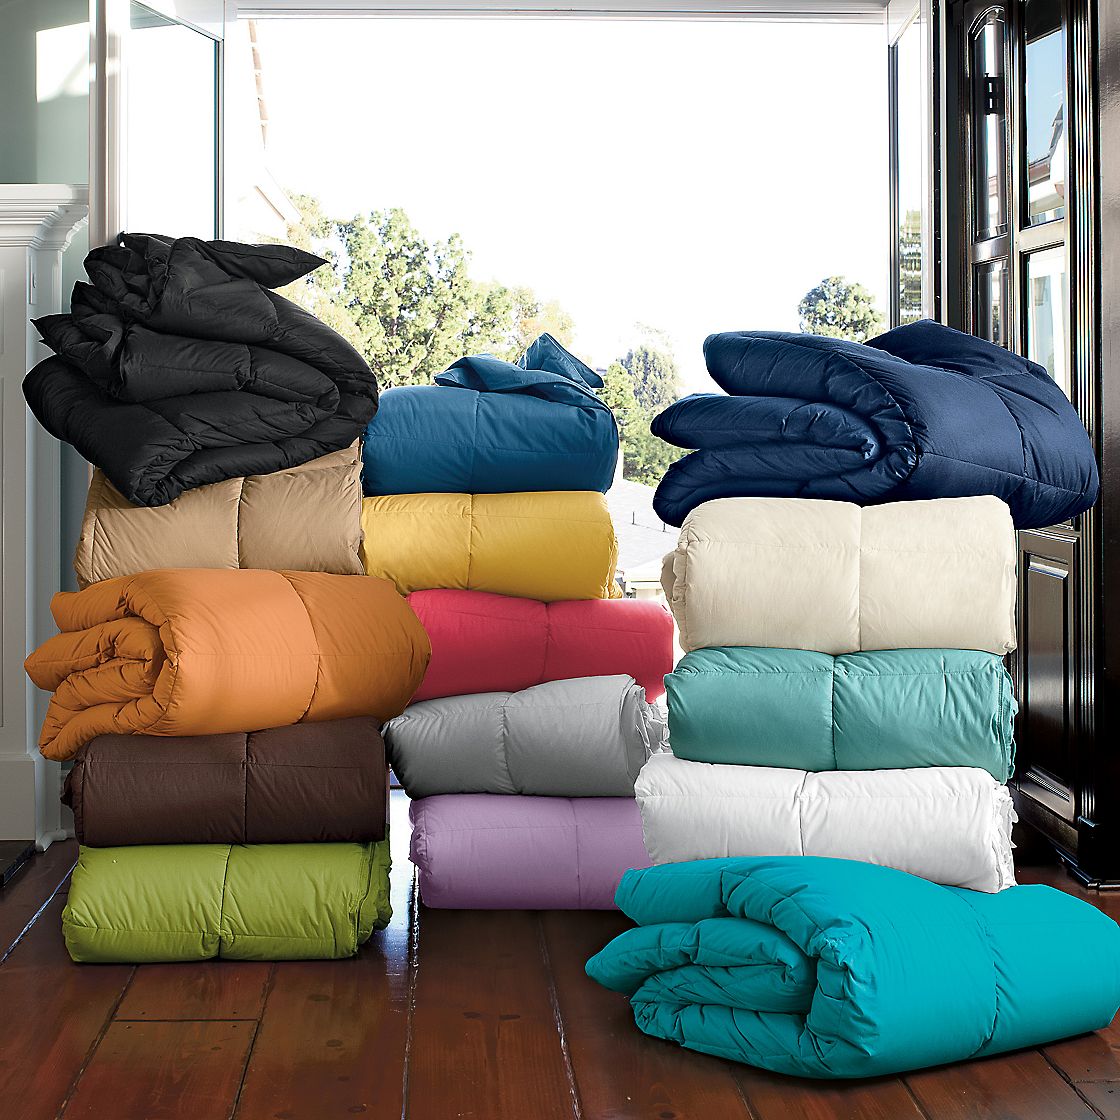
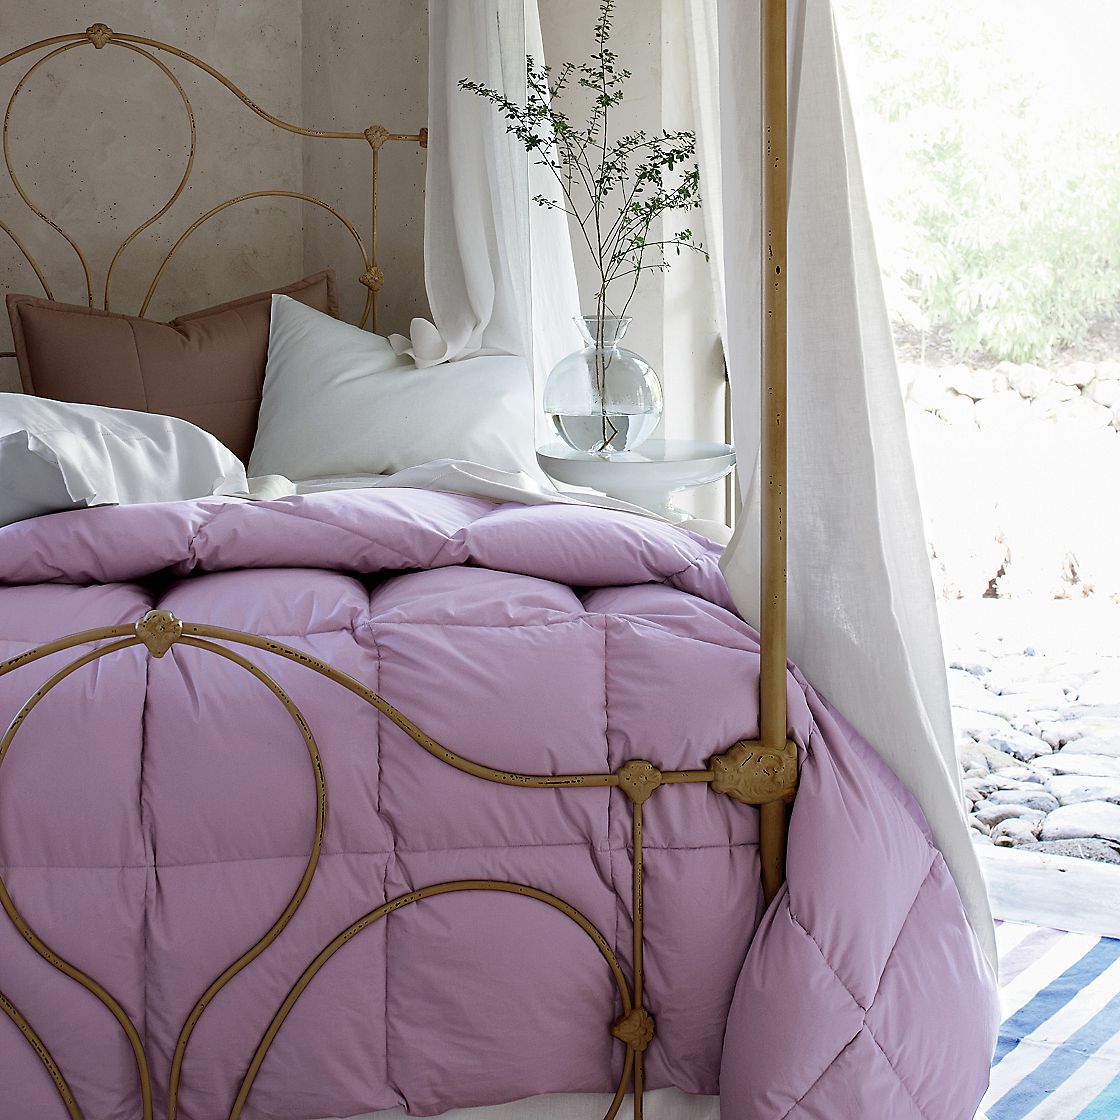
We also upgraded our bed to a KING!! Which means I don't need to wake up with elbows in my face and Andrew won't yell at me for sleeping diagonally as much.  The way I see it - the extra 16" are actually for me :)  Having a King size bed also means buying new linens and a comforter.  We got a great deal on our sheets from Bed Bath & Beyond and I found a fantastic sale for an Ivory alternative down comforter from The Company Store.  Because of Fourth of July Sales, I don't think we purchased anything that was marked up or greatly on sale.


I also wanted to make my own headboard because of the cost, in addition to fitting my style.  My dad was more than willing to help out.  I drew up the plans last Sunday night and he cut and assembled all the wood this week.  Yesterday I went to Joann Fabric and got some upholstery fabric for $4.50/yard!!! I also got the foam for the panels at 50% off and then got an additional 15% off my total purchase.  After rebates for the wood and all my sales the total headboard cost {for a King} was $56.00.  That is 10% of what it would have cost to buy it in a furniture store.  When the time comes there will be a blog on how this was assembled and made.


Panel + foam covering

Both are suede fabric.  The darker is for the 2x8 frame.


Andrew also surprised me this week and wanted to go apartment shopping and then let me pick out the towels.  Of course I'm going to try and get away with yellow wherever I can, so I picked out a Victorian yellow pattern and some cream/beige accent color towels.


This weekend we also did little projects for our apartment.  Andrew's mom, Vicki, gave us this old US military typewriter box that we painted and plan on putting in our screened in patio along with our new family member Claudia Bell.  Andrew sanded down the box, primed and painted it, while I went shopping for a new hydrangea plant.  I named them Claudia Bell and Albert.


Claudia Bell.  She also got a nice cedar bucket pot. 


Albert - I picked out a yellow, which is actually brighter than this.  
The original color before sanding was a military green.


Sunday, June 03, 2012

project {dream catcher}

Oh me - Oh my - time does fly...

Over Memorial weekend I wanted to make some dream catcher earrings during Rendezvous <camping but during the time period of 1830's>.  I went to Joann's to get all my supplies before the weekend came.  I wanted them to be somewhat time period correct, but also practical enough for me to enjoy them on a day to day period at work or something.  The Rendezvous got cancelled due to the weather but I decided to make them anyway, in the spirit of my first vacation holiday after starting work.

It turned out the making of the earrings actually took about a day longer than expected and I only finished one hoop.  Mostly because they were turning out so big I couldn't see me being able to wear them as earrings.  I started out wanting to make the webbing out of thin gauge wire, which became a nightmare, and then I changed to embroidery string.  I'm glad I finished my project, but I won't be making anymore dream catchers in the future.  I did go back to Joann's to get some earring hardware to make beaded earrings for future rendezvous and to use up some of the hundreds of glass beads I bought.

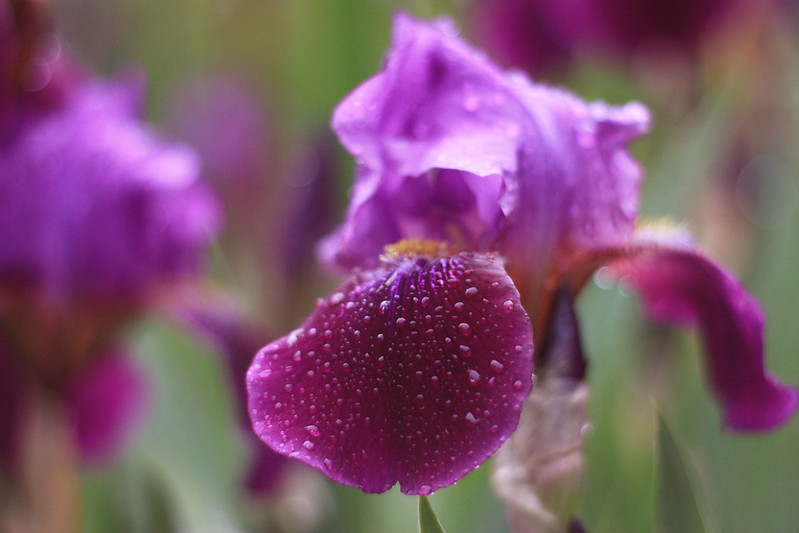
Memorial weekend turned out to be full of severe thunderstorms, but I did get a few pictures of some grape smelling iris's.  {flickr}


I was going to make some cute earrings to go with my new prized possession this past week/weekend too, but got too busy.  This week Andrew and I booked two camping trips.  The first one is next weekend.  We are going to Crow Wing State Park, and the second is up in the boundary waters at Bear Head Lake State Park over Labor Day weekend.  We are also cracking down to get in contact with apartments about availability of August tenants.  The more we look at apartments the more we want to live in a house or duplex.  For the same amount of money we can get a lot more space and features, like a garage and laundry unit.

Next weekend is our first camping trip so this weekend we got all of our stuff together and planned.  I'm super excited.  This will be our first camping trip we take just the two of us.  After 4 years, it's about time!

Monday, April 16, 2012

inspiration + project {rainy day knitting}

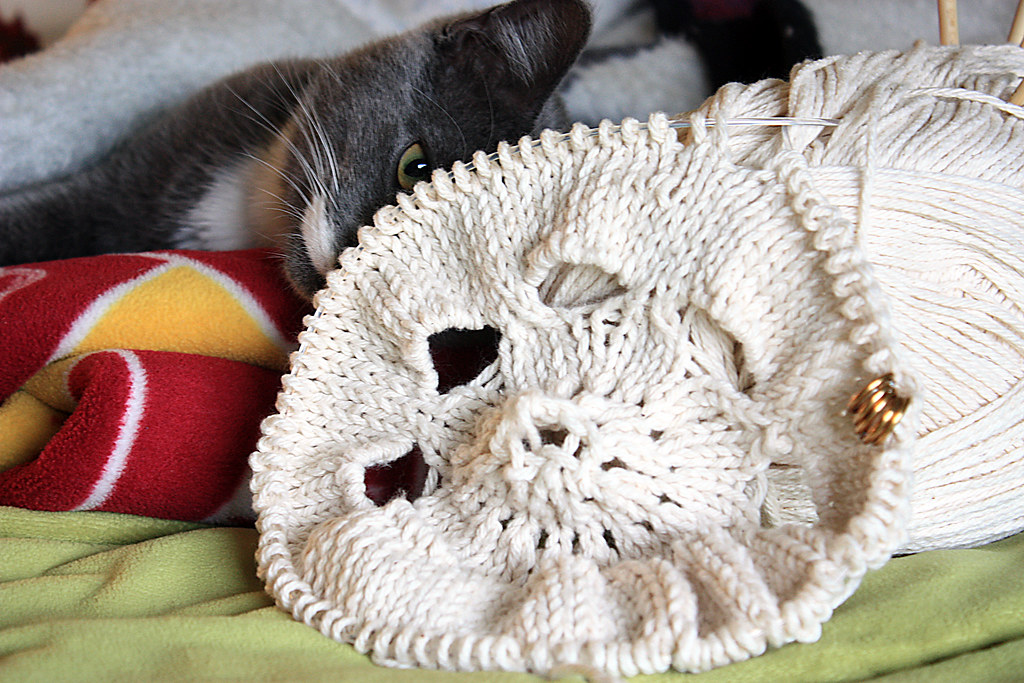
I recently came across a beautiful crochet doily blanket that I want to learn how to do.  I have only taught myself simple knitting so far and wondered if there was a knitted doily blanket out there on the web.  To my luck I found an amazing looking throw blanket.  I was so excited about the pattern I found, I started practicing with some leftover bulky yarn and circular needles. I had to do some research on how to get the center started < I learned how to knit with double pointed needles. >  I also worked out how to knit open holes.  I was so excited on how it was turning out I went to get some yarn and the right sized needles this weekend.  Since the last couple of days have been rainy, I've been really enjoying snuggling with tucker and knitting away.

{ Inspiration }

Crochet Doily Blanket {willow} via goodknits.com


{ Project }

The Hemlock Ring Blanket via brooklyntweed.blogspot.com

{ Progress }


Tuesday, April 10, 2012

project {wild curiosity}

 Background 
{ I recently have been seeking employment for a design opportunity.  As apart of an application I received a project task.  This was by far the most creative and interesting job application I have participated in. }

Task
{ Using a standard, 27-frame disposable camera, demonstrate your wild curiosity }

As all my design projects start, I had mounds of ideas rushing through my head.  I created a mood board on paper but wanted to make a copy of it for my blog.


As most design thinkers and doers know, design goes around in an infinity loop .  It wasn't until the last minute I decided what I was going to do.  I'm slowly reading a typography book and wanted to try out what I have learned and then create a graphic using what I found "out in the real world".

My project
{ I took pictures of typography + design that I thought were nifty or had something stand out with the disposable camera.  I went through each one, and wrote down what worked  <ex. alignment, color, scale, tracking> and then linked them all together in one way or another.  Using Illustrator I documented  a thumbnail of the typography graphics and a line linking them to their descriptive forms.  Here is the graphic }

Sunday, March 18, 2012

project {renovated pants}

I've been dying to renovate a few pairs of my pants.  I bought a black pair of very comfy light weight cotton jeans from Korea. But in Korea it is not common to have a dryer to dry your clothes - you must hang them up in your apartment to air dry.  This +  I never wanted to wash my clothes, ended in my pants stretching out.  And now that I am back in the States I can't seem to dry them enough in hopes that they will shrink to a smaller size.  

Keep in mind these are my favorite pants and only cost 3 US dollars and every time I wear them Andrew looks at me like "don't you have any other pants that will fit you?" - And so I am left with having to experiment on my favorite pants and hope that I can successfully take them in all by myself.  I did google/youtube for some help.

first I organized and cleaned out my mom's sewing kits {and junk} of 25 years to procrastinate time


Based on my youtube research:
I      {put your pants on inside out}
II     {with white chalk, mark where you want the new seam to be}
III    {using a ruler and a good eye of symmetry connect the lines into one continuous white line that you will follow when sewing}
IV   {pin the top and bottom of the leg fabric, making sure it's flat with no wrinkles **and that the crotch seams line up}

You are now ready to start sewing!


I introduce the "Dressmaker" my mom's trusty cast iron sewing machine, which I will steal from her someday when I have somewhere to put it.  The hardest part is when I don't use it for an extended period, I need to re-learn how to thread it.

When sewing:     {I also learned you can sew over your pins and remove them later}
I      {make sure your new seam is overlapping the old one, and is double stitched - front, back, front - at the ends and over the crotch seam}
II     {when done with a single tight stitch do a second round but about 3/8ths from the first one. The second one should be a loose wide stitch to hold the two fabrics together. *if confused just mimic what your existing pants look like}
III    {then cut the remainder of the fabric off so you don't have bunching inside when you wear them *you may want to do this after you have tried them on and decided to keep the new sewn marks}
IV   {turn them right side out and wear them}

I also attempted a new hem at the ankle cutting about 4 inches off, but it looks horrible- haha. Lucky for me these are black pants and tightly fitted so it's not noticeable.


I realized as I was getting my photos together I didn't take any of the sewing process and decided to get a final shot.

What a surprise! Taking your own photo without looking through a viewfinder or being able to adjust any settings, and being mostly in the dark.  But it does it's job and shows how nice they fit now!