I've been dying to renovate a few pairs of my pants. I bought a black pair of very comfy light weight cotton jeans from Korea. But in Korea it is not common to have a dryer to dry your clothes - you must hang them up in your apartment to air dry. This + I never wanted to wash my clothes, ended in my pants stretching out. And now that I am back in the States I can't seem to dry them enough in hopes that they will shrink to a smaller size.
Keep in mind these are my favorite pants and only cost 3 US dollars and every time I wear them Andrew looks at me like "don't you have any other pants that will fit you?" - And so I am left with having to experiment on my favorite pants and hope that I can successfully take them in all by myself. I did google/youtube for some help.
 |
| first I organized and cleaned out my mom's sewing kits {and junk} of 25 years to procrastinate time |
 |
I {put your pants on inside out}
II {with white chalk, mark where you want the new seam to be}
III {using a ruler and a good eye of symmetry connect the lines into one continuous white line that you will follow when sewing}
IV {pin the top and bottom of the leg fabric, making sure it's flat with no wrinkles **and that the crotch seams line up}
You are now ready to start sewing!

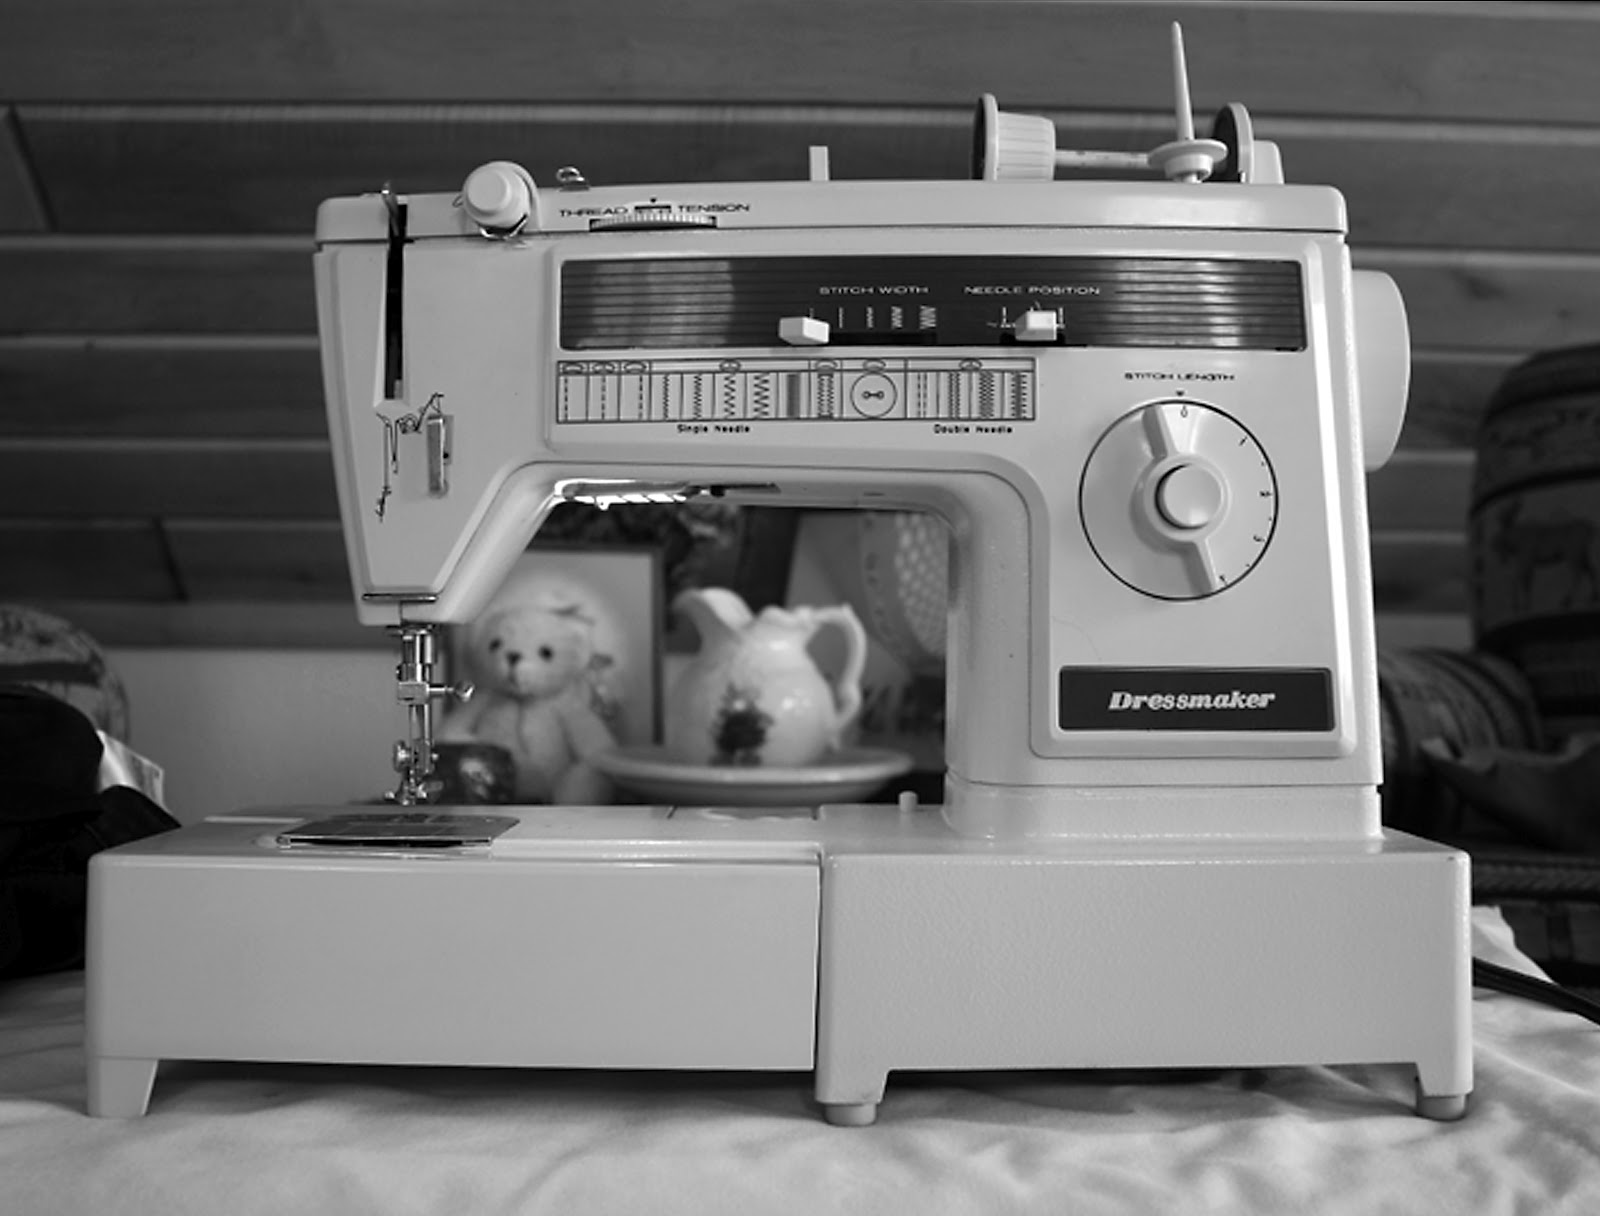
I introduce the "Dressmaker" my mom's trusty cast iron sewing machine, which I will steal from her someday when I have somewhere to put it. The hardest part is when I don't use it for an extended period, I need to re-learn how to thread it.
When sewing: {I also learned you can sew over your pins and remove them later}
I {make sure your new seam is overlapping the old one, and is double stitched - front, back, front - at the ends and over the crotch seam}
II {when done with a single tight stitch do a second round but about 3/8ths from the first one. The second one should be a loose wide stitch to hold the two fabrics together. *if confused just mimic what your existing pants look like}
III {then cut the remainder of the fabric off so you don't have bunching inside when you wear them *you may want to do this after you have tried them on and decided to keep the new sewn marks}
IV {turn them right side out and wear them}
I also attempted a new hem at the ankle cutting about 4 inches off, but it looks horrible- haha. Lucky for me these are black pants and tightly fitted so it's not noticeable.


I realized as I was getting my photos together I didn't take any of the sewing process and decided to get a final shot.
What a surprise! Taking your own photo without looking through a viewfinder or being able to adjust any settings, and being mostly in the dark. But it does it's job and shows how nice they fit now!

Ohhh, looking good! Can I send you mine for alterations?!
ReplyDeleteYes! But I won't send them back to you :) I could use another pair.
ReplyDelete